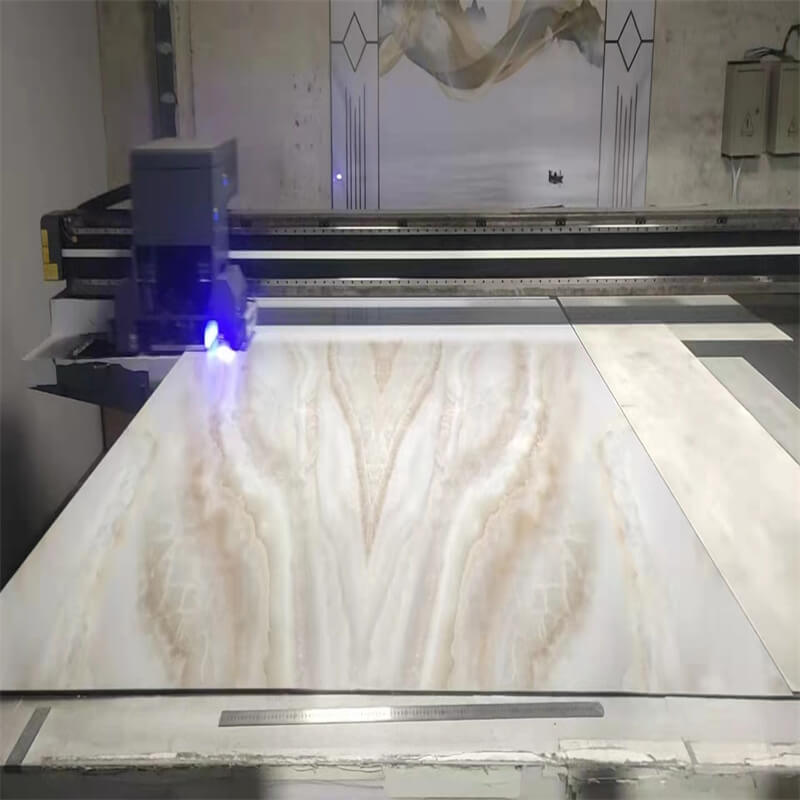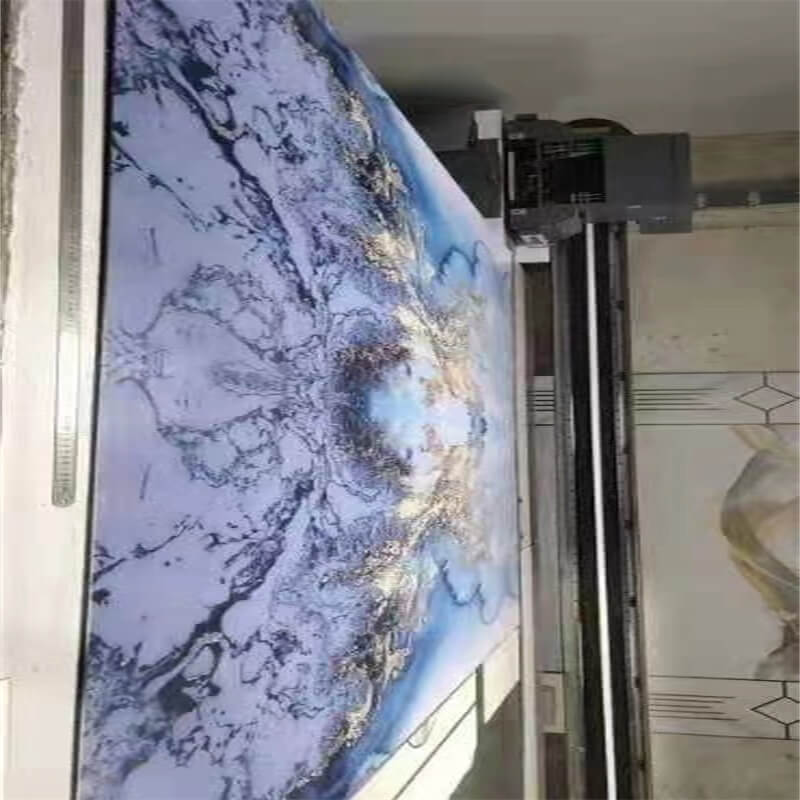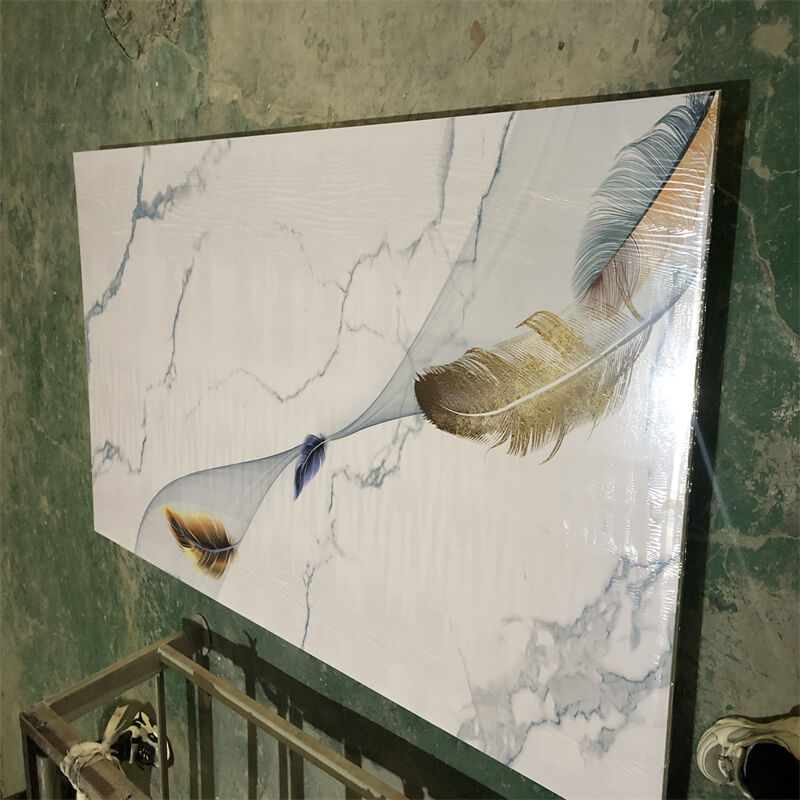
When it comes to enhancing the aesthetics of your living space, 3D PVC panels offer a perfect blend of style and simplicity.
These innovative wall coverings have taken the interior design world by storm, creating a buzz with their captivating textures and multidimensional allure.
If you’re looking to embark on a DIY decor project and elevate your interior to new heights, installing 3D PVC panels might be just the solution you need.
In this comprehensive guide, we’ll walk you through the step-by-step process of installing 3D PVC panels, making the seemingly daunting task an easy and enjoyable experience.
Get ready to transform your home and unleash your creativity with this DIY guide to 3D PVC panels.
Preparing for Success: Gathering the Right Tools and Materials
Before diving into the installation process, it’s essential to prepare for the project to ensure a smooth and successful outcome.
Here’s a list of tools and materials you’ll need for installing 3D PVC panels:
Tools:
- Tape measure
- Level
- Pencil
- Utility knife or panel saw
- Adhesive applicator (caulking gun)
- Rags or sponges
- Step ladder
Materials:
- 3D PVC panels of your choice
- Adhesive suitable for PVC panels (check with the manufacturer’s recommendations)
- Adhesive primer (if required by the manufacturer)
- Construction adhesive remover (for cleanup)
Make sure to choose high-quality materials and tools to ensure the longevity and effectiveness of your installation.

Measuring and Planning: Creating a Blueprint for Success
To achieve a professional-looking installation, proper measurement and planning are crucial.
Start by measuring the area where you intend to install the 3D PVC panels. Use a tape measure to determine the height and width of the walls accurately.
If you have an irregularly shaped wall, mark the measurements directly on the back of the panels for precise cutting later.
Next, plan the layout of the panels. Decide whether you want a full panel installation or a staggered pattern,
and sketch out the placement of the panels on the wall. This step will help you visualize the final result and make adjustments before moving on to the installation.

Step-by-Step Installation Process
- Prepare the Surface: Before applying the adhesive, ensure the wall surface is clean, dry, and free of any dust or debris. Use a damp cloth to wipe down the wall and remove any dirt or grime. If the wall has imperfections, consider patching them with spackle or filler and sanding the area smooth.
- Prime the Surface (if necessary): Some 3D PVC panels and adhesive manufacturers recommend using a primer on certain wall surfaces to promote better adhesion. If your chosen panels require a primer, follow the manufacturer’s instructions for application and drying time.
- Apply the Adhesive: Load the adhesive tube into a caulking gun and cut the nozzle at a 45-degree angle. Apply a generous amount of adhesive on the back of the 3D PVC panel, making sure to cover the edges and corners thoroughly.
- Position the Panel: Carefully place the panel on the wall, aligning it with your pre-planned layout. Press firmly to ensure good contact between the adhesive and the wall. Use a level to ensure the panel is perfectly straight.
- Continue Installing Panels: Repeat the adhesive application and installation process for each subsequent panel, ensuring consistent spacing and alignment. If you encounter any obstacles like electrical outlets or switches, measure and cut openings in the panels to accommodate them.
- Trimming the Panels: When you reach the edges or corners of the wall, you might need to trim the panels to fit. Use a utility knife or panel saw to make precise cuts. Measure carefully to avoid any mistakes, and remember to wear safety gloves for protection.
- Finishing Touches: Once all the panels are installed, clean up any excess adhesive using a construction adhesive remover and a rag or sponge. Check each panel to ensure they are securely attached to the wall.
Maintenance and Care for Long-Lasting Beauty
Congratulations! You’ve successfully installed 3D PVC panels and transformed your space.
To keep your newly elevated decor looking pristine for years to come, follow these maintenance and care tips:
- Regularly clean the panels with a soft, damp cloth to remove dust and dirt.
- Avoid using abrasive cleaners or harsh chemicals that might damage the panel’s surface.
- If you notice any loose panels over time, reapply adhesive to ensure a secure attachment.
Installing 3D PVC panels may seem like a daunting task at first, but armed with the right tools, materials, and knowledge,
it becomes an accessible and enjoyable DIY project. With careful planning, precise measurements, and attention to detail,
you can transform your living space into a stunning work of art.
So, why wait? Step into the future of decor and elevate your interior with 3D PVC panels, turning your walls into a mesmerizing canvas of style and creativity.
